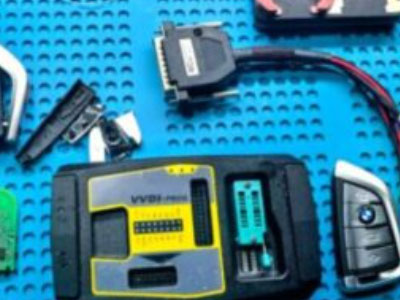
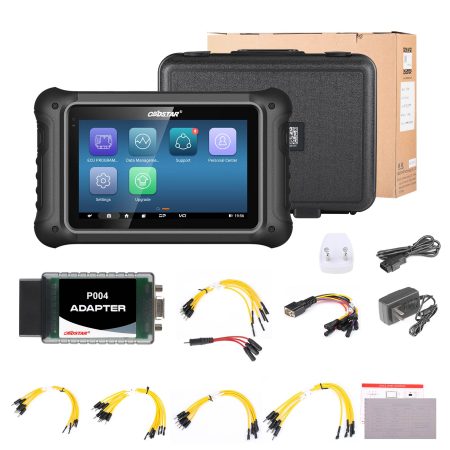
This comprehensive tutorial demonstrates how to replace the touch screen, display assembly, and main circuit board for the OBDSTAR DC706 automotive diagnostic device.
Important Safety Precautions
Only attempt these repairs if specifically directed by technical support. Common scenarios requiring component replacement include complete device failure to power up, such as persistent black screen issues despite adequate battery charging.
Step-by-Step Replacement Instructions
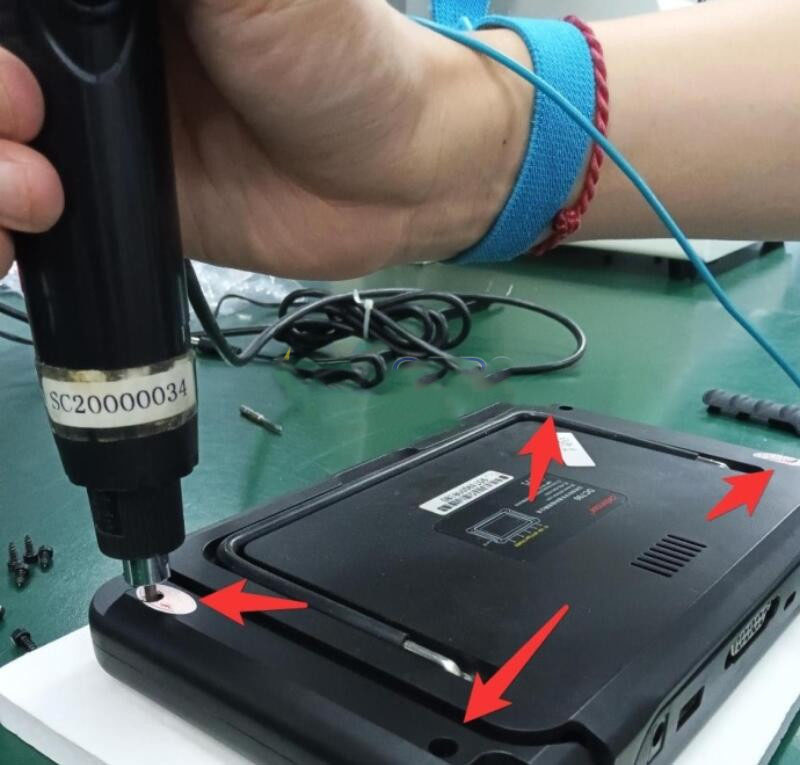
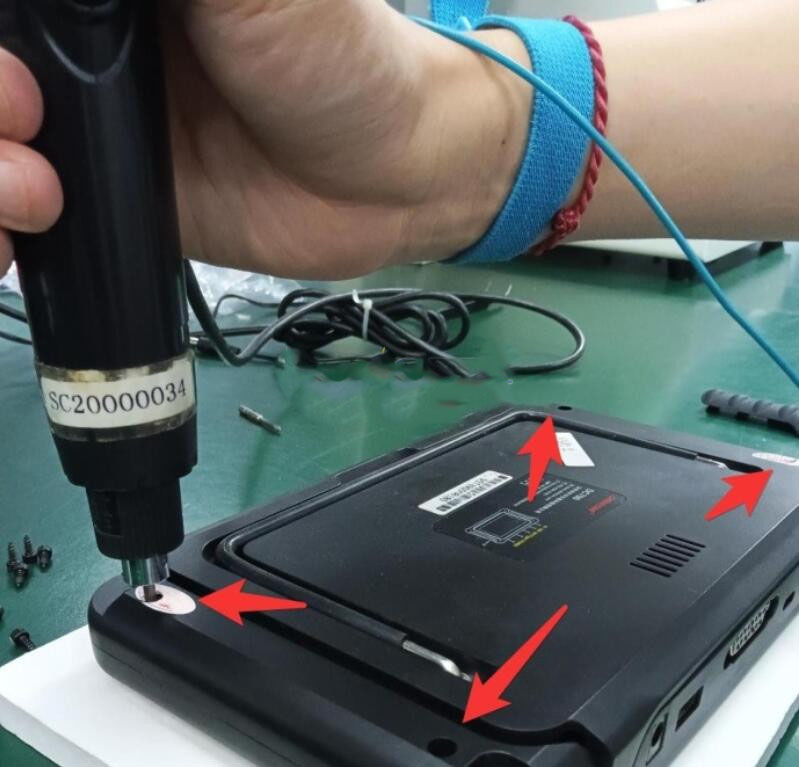
1. Begin by removing the four fasteners that secure the protective rubber sleeves using either a power screwdriver or manual screwdriver.
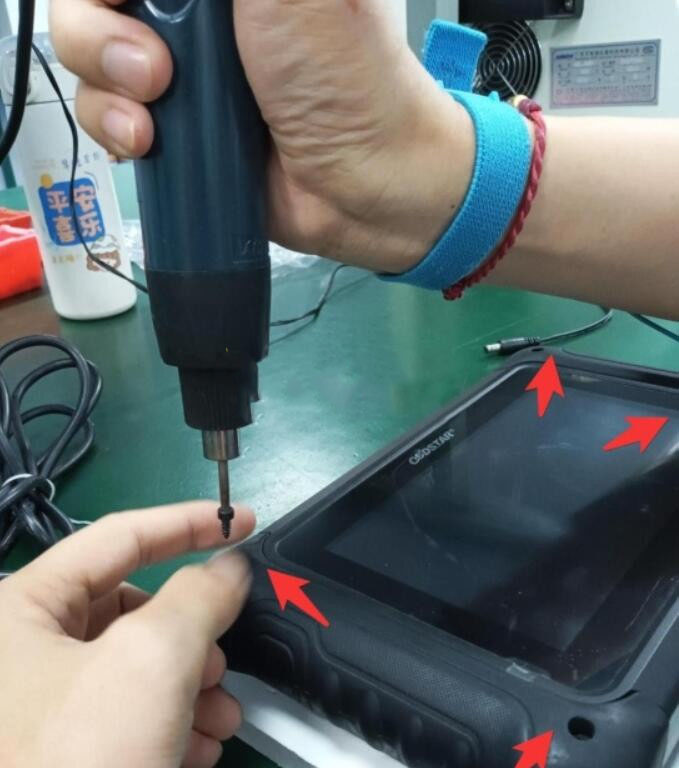
2. Carefully detach both left and right rubber protective covers from the device housing.
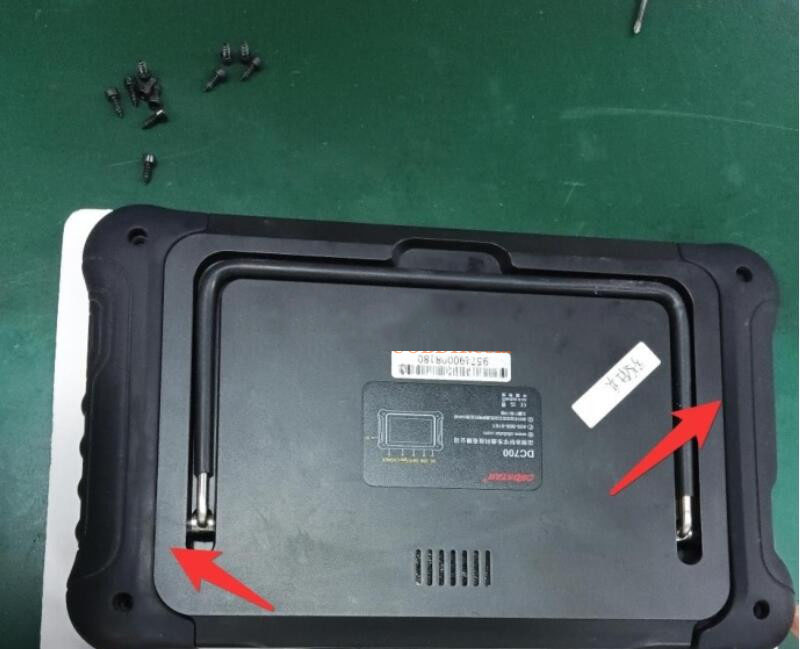
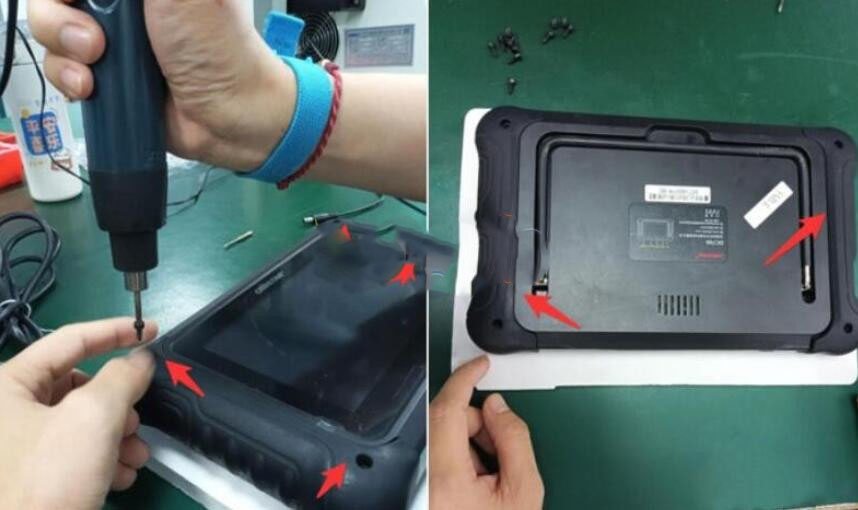
3. Unscrew the four exterior casing screws that maintain the outer enclosure integrity.
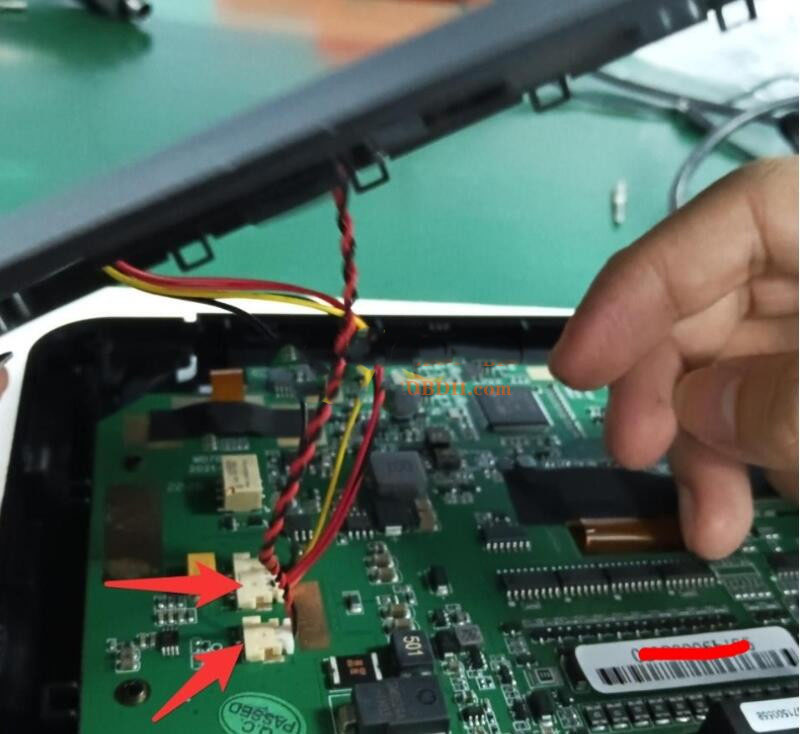
4. Disconnect the two primary wiring connectors as highlighted by directional indicators.

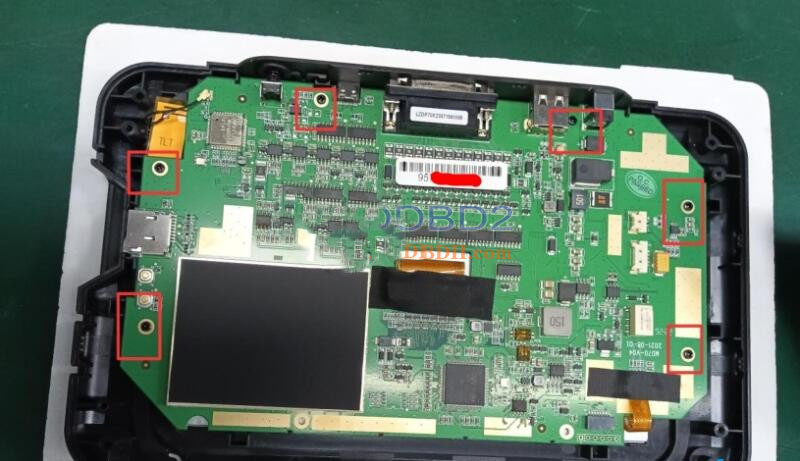
5. Remove motherboard mounting screws and gently peel back the adhesive tape securing cable interfaces.
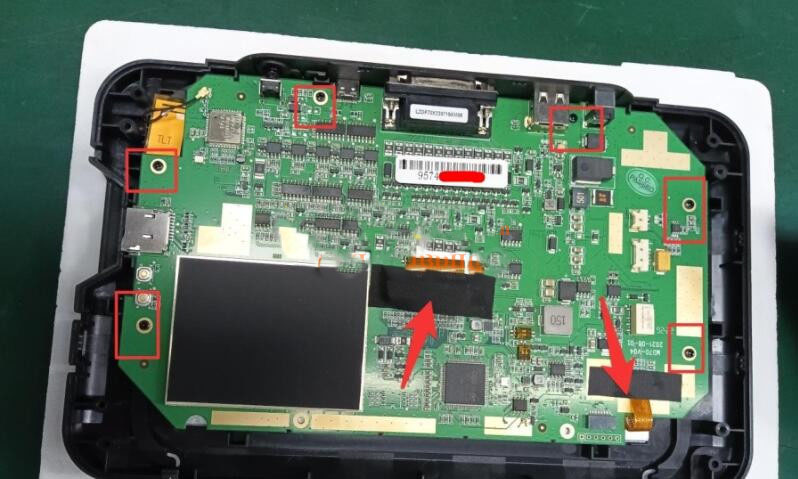
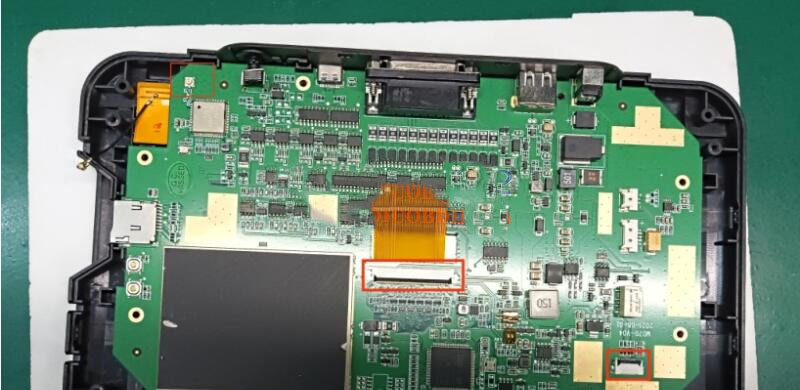
6. Disengage the display ribbon cable (noted by arrow marker) and detach the wireless antenna connection.
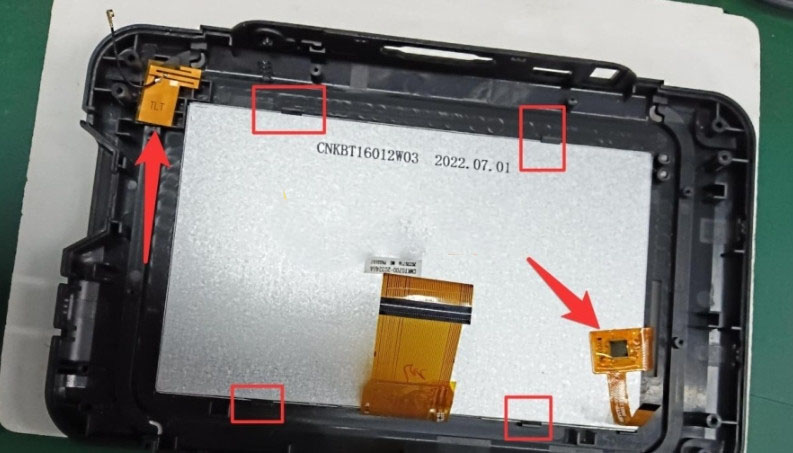
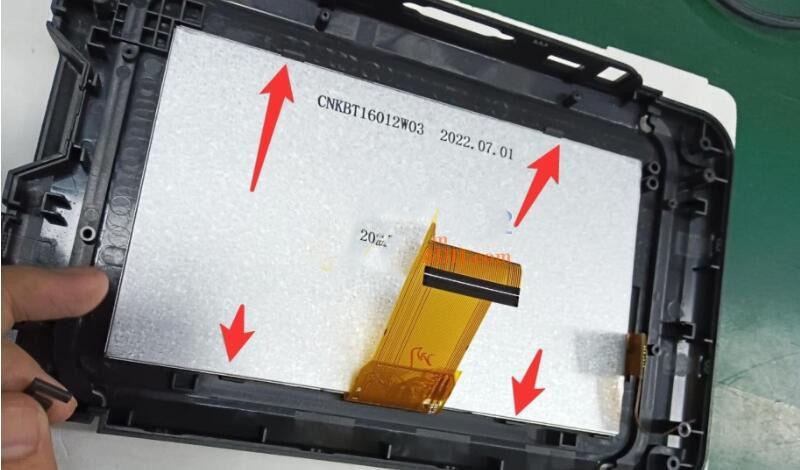
7. Install replacement touch screen assembly (pre-mounted with front casing) and new display module according to illustrated orientation.
8. Align replacement motherboard properly within chassis guide slots. Reconnect all cables and antenna within marked areas, secure with adhesive tape, and fasten motherboard with screws.
9. Reattach power supply cord and audio speaker wiring from rear housing to motherboard connection points, then assemble front and rear casings together.
10. Secure reassembled housing by tightening all screws at designated positions.
11. Reinstall left and right adhesive components onto main unit and replace corresponding mounting screws.
Troubleshooting After Replacement
- If your OBDSTAR DC706 unit doesn't power on or shows irregular operation following Android motherboard replacement, immediately contact technical support with your device serial number.
- For persistent display abnormalities after screen replacement, reach out to customer service with your unit's identification number.
- When replacing VCI motherboard components, coordinate with your supplier to update account synchronization. Have both original and replacement VCI board serial numbers available.